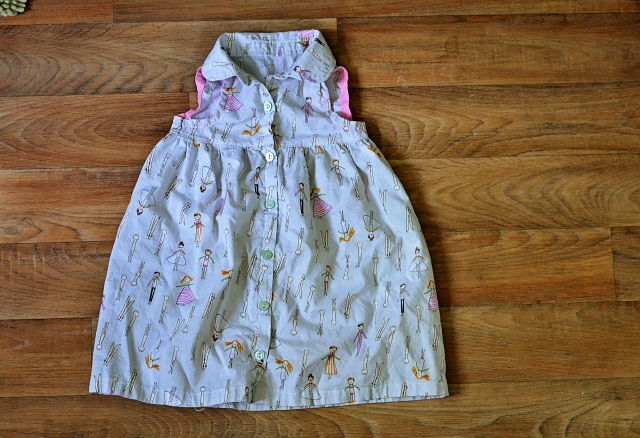
This might get a little long but it’s mostly because I felt like the collar part needed some extra explaining. And unfortunately most of the pictures were taken at night so they might not be the best. It took me a while to digitize this because I wasn’t 100% happy with the fit of the back and making it this time for the tutorial made me realize it’s still bugging me. So I might go back and make a few tweaks but only to the back bodice piece. I just want to get the collar to lay right so I’m going to try scooping out the neckline about an inch to see if it helps. I’ll update the pattern and post about it too if I end up making the changes.
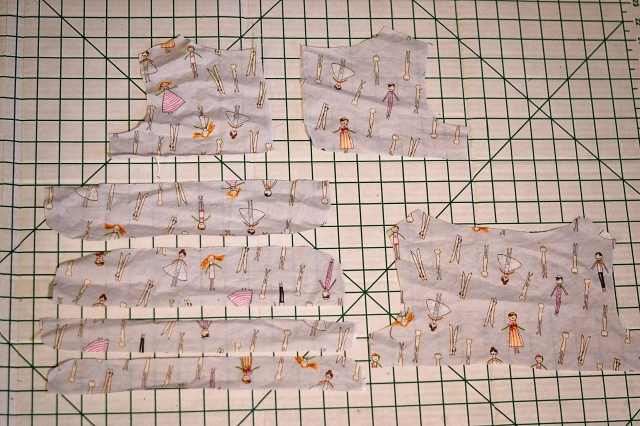
I added roughly one cm to each side of the back and front bodice pieces to enlarge the fit.
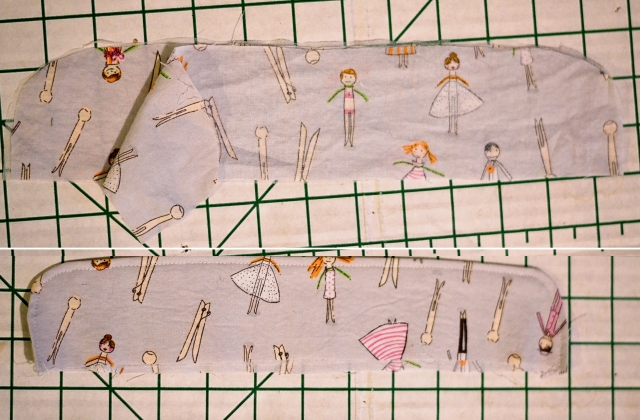
To start, the main collar pieces should be sewn together around the curved edges with the right sides facing and then turned right side out. Topstitch the curved side.
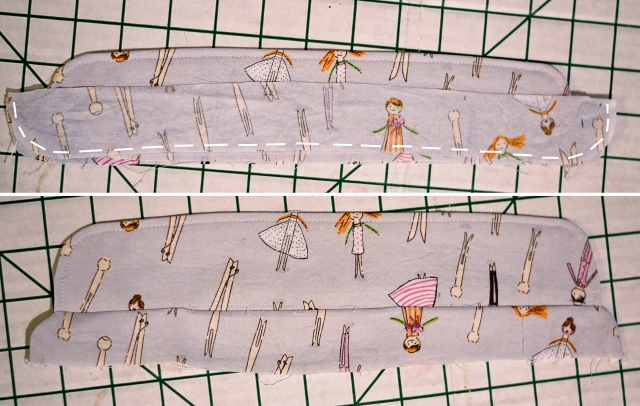
The collar attachment pieces should sandwich the main collar with the right sides facing and be sewn around the curved edges. Turn it right side out but do not topstitch like on the main collar.
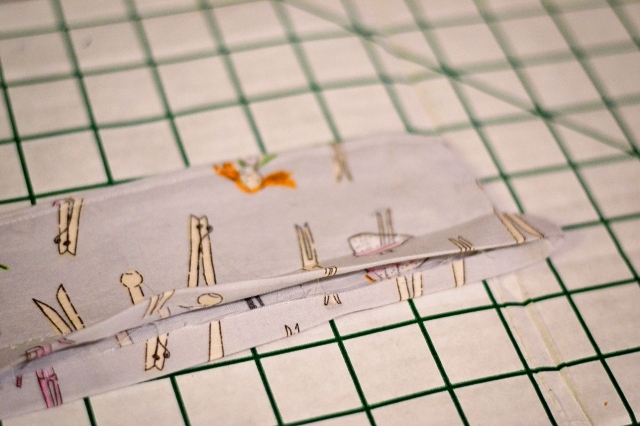
Press the unfinished sides of the attachment pieces towards the wrong side of the fabric.
I didn’t take pictures of the bodice construction but it’s basically just sew the shoulders and finish the seams then bind the arm openings with bias tape before sewing the sides together. To attach the collar line up the middle of the collar with the middle of the back bodice piece, sandwiching it in between the attachment pieces.
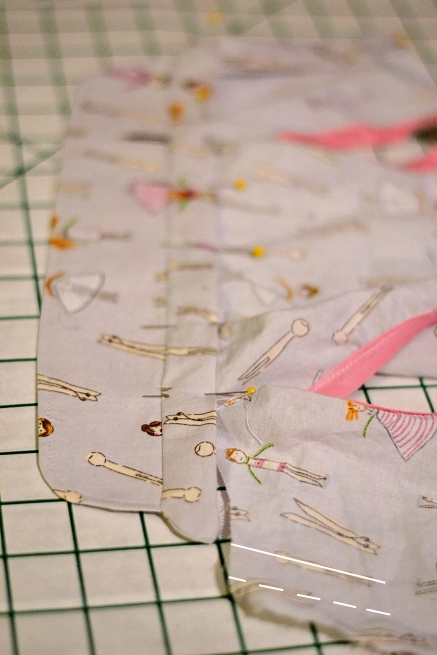
Slide the bodice into the collar until you get to the front openings. Fold the edges in to the wrong side twice to fit inside the collar opening.
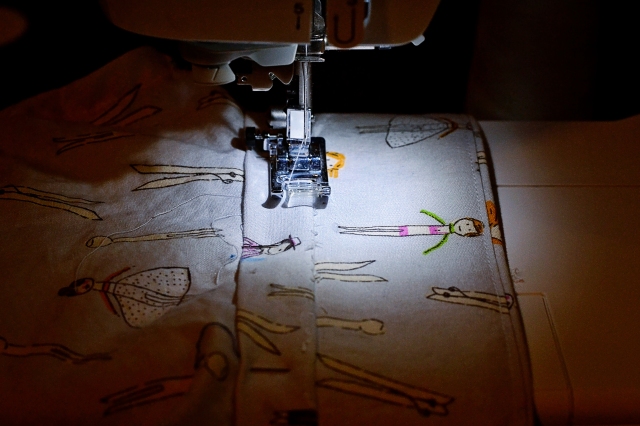
Sew all around the attachment piece’s perimeter, I like to topstitch on the outside of the shirt but it doesn’t really matter if one is easier for you.
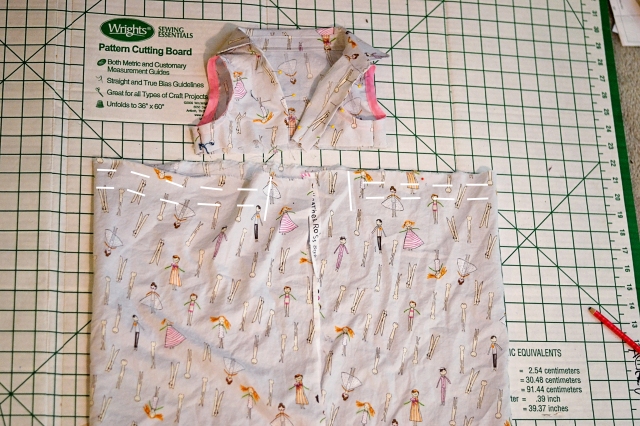
One pattern note: The separate piece is listed on the pattern as being 44″ X 11″ but I’m making a dress here so I used a piece that was 16″ tall and just cut it selvedge to selvedge.
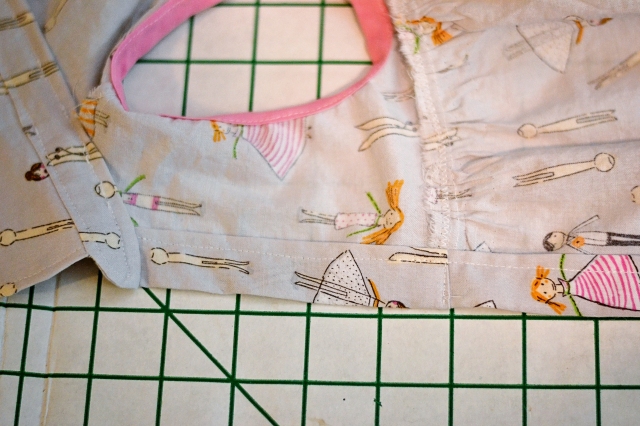
Anyways, the skirt piece should be gathered but starting about an inch and a half away from the edges. When you attach the skirt to the bodice you’ll have to unfold the bodice edges from when they were folded to fit inside the collar.
Finish the skirt/bodice seam and press it to the top then topstitch along the bodice edge. Fold both the left and right opening edges under to match the bodice and sew it down.
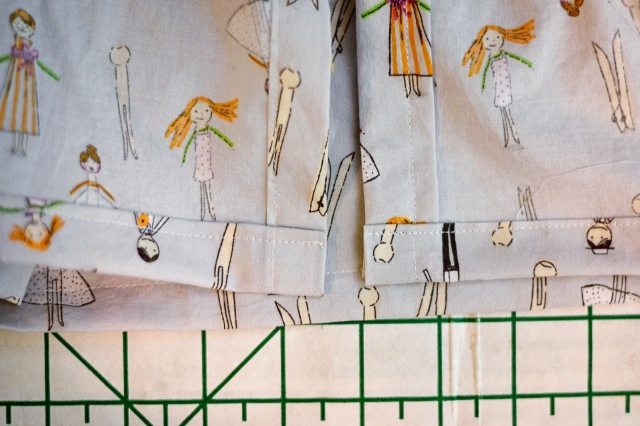
Hem the bottom and add buttons and buttonholes evenly spaced along the opening. I used six buttons but I wish I had had a seventh to put them a little bit closer together. I’ll post the rest of the finished pictures tomorrow since this is already so long and picture heavy! And in case you missed it here is the pattern link again.

