Simple Sewing

DSC_0029

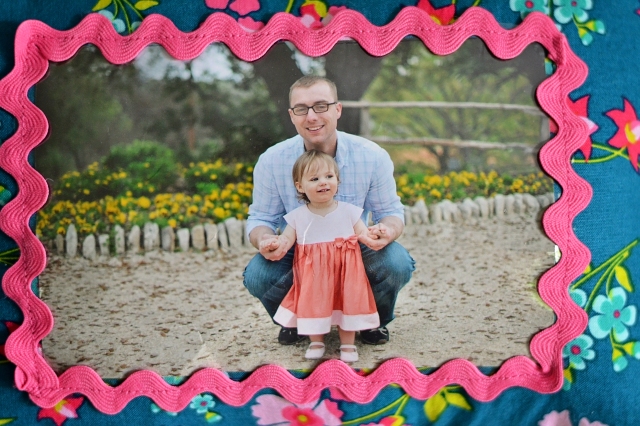
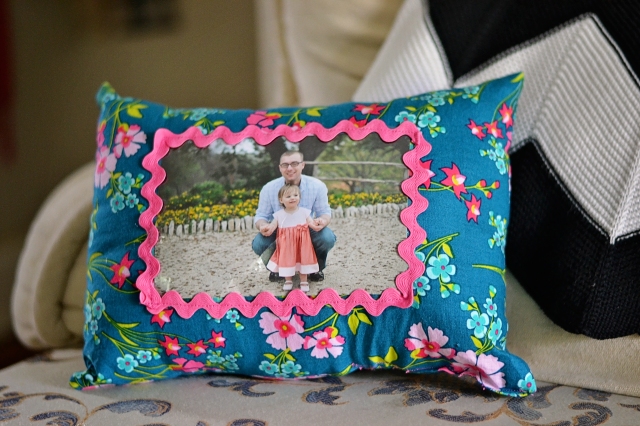
This picture is from the shoot I mentioned here. We had family pictures done before we moved because my husband would be deploying afterwards. We wanted updated pictures to send with him but also for our daughter to have something she could remember him with.
DSC_0042

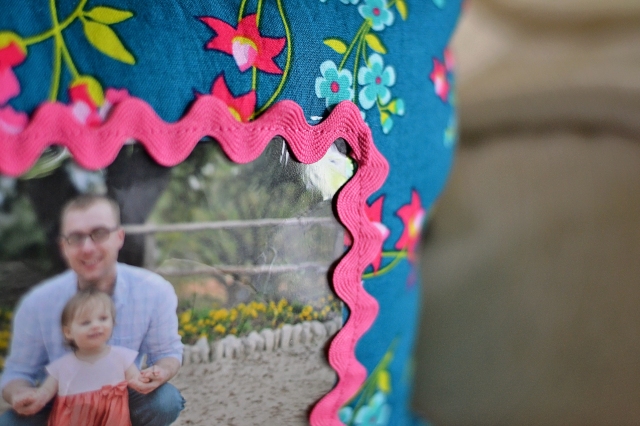
I wanted something that would be easy for her to carry around and not have to worry about a glass frame breaking. The picture is just behind a piece of  vinyl with ric rac to hide the edges. I thought about leaving an opening to switch the picture out or take it out to be washed but I know it would just be a matter of time before she realized she could take it out and tear it.

DSC_0038

I’ve never used ric rac before so I have no idea how you’re actually supposed to do corners but I had to finish before nap time so this is as good as its gonna get! So far she seems to like it and it’s extra cute to see her point and say Da Da and give it hugs.

Baby Bibs

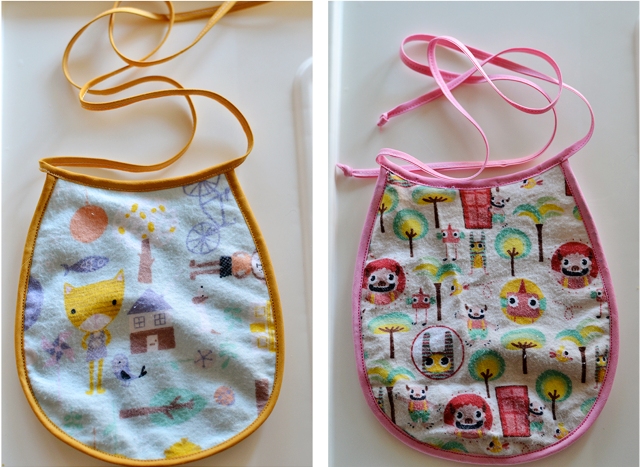
These bibs at The Purl Bee inspired the ones I made for a baby gift I’m sending off for friends that just had a little girl.

DSC_0167b

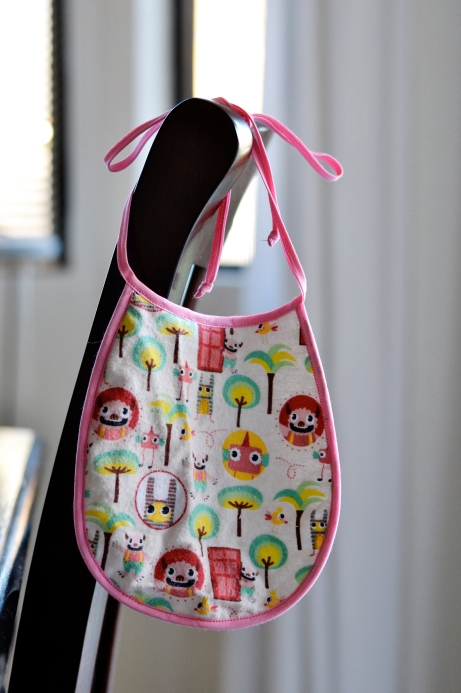
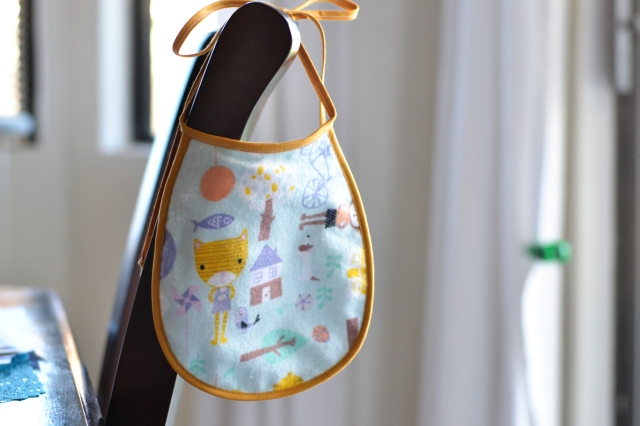
I enlarged the top width and left the pocket off but I really like that they tie instead of closing with velcro. In theory velcro is great but if, like me, you have a baby that hates bibs they don’t last very long.

DSC_0179b

This is my favorite flannel ever. I only bought one yard at the time but I intend to use every scrap! I like that it’s gender neutral with out being boring.

DSC_0188b

Mmmm, mustard. I’m obsessed with this color lately.

Hat Tutorial

Here are the instructions/a small tutorial for the hat pattern I posted about here. The link to download it again if you need to is here.

DSC_0379b

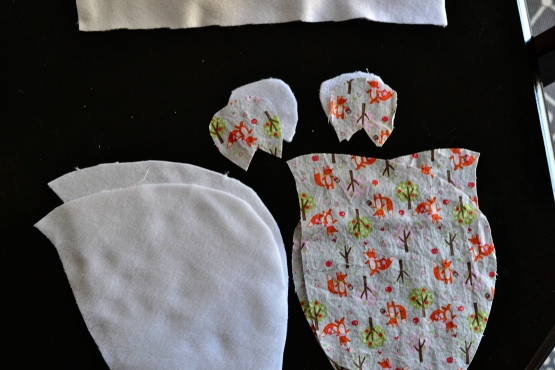
Blurry picture, but this is what all the pieces should look like when they’re cut out.

DSC_0245b

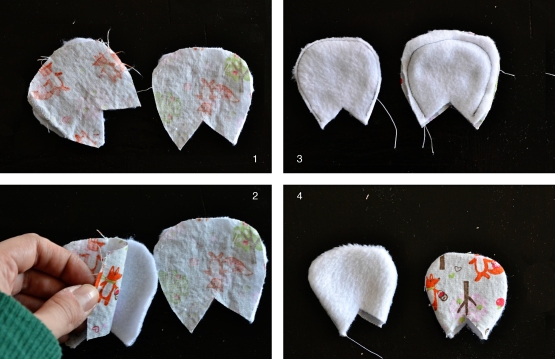
We’re going to start with the ears.

ears

Face the main and lining fabrics right sides together and sew with a 3/8″ seam.

ear2

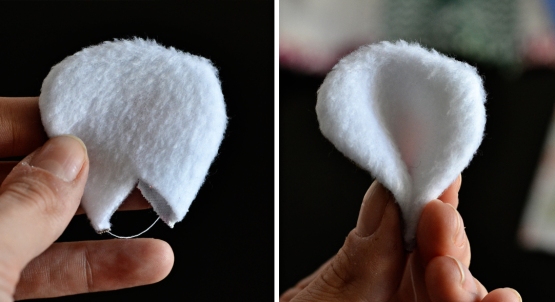
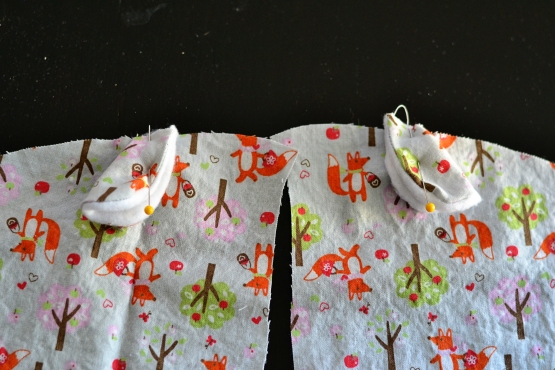
Fold the ear together along the cut out V.

DSC_0301b

Pin them to each side of the hat roughly 2″ from, and facing, the brim.

half pinned

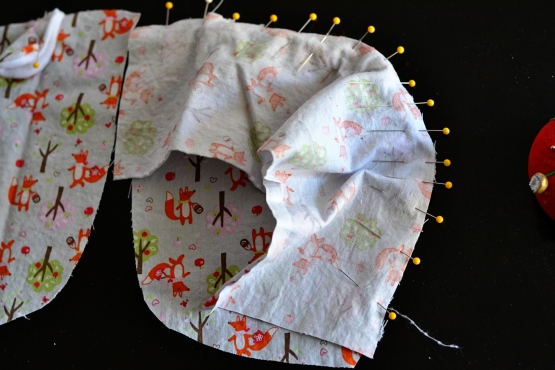
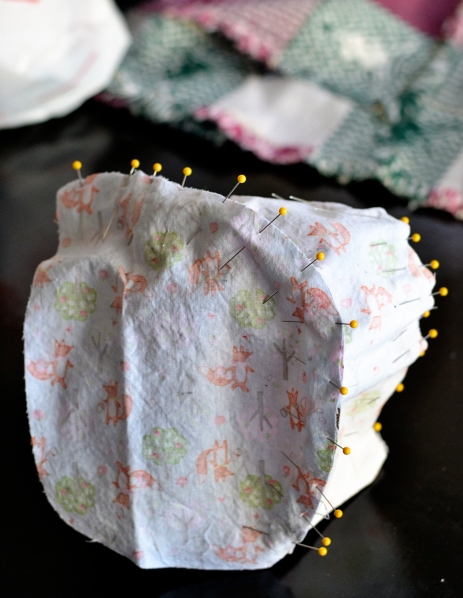
Pin the rectangle to one side of the hat with the right sides together. And then to the other side of the hat.

full pinned

Do the same thing, separately, with your lining pieces.

DSC_0336b

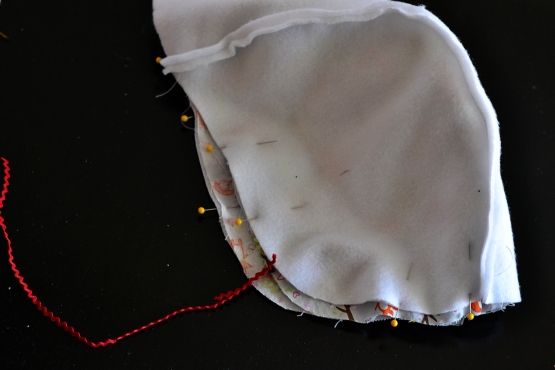
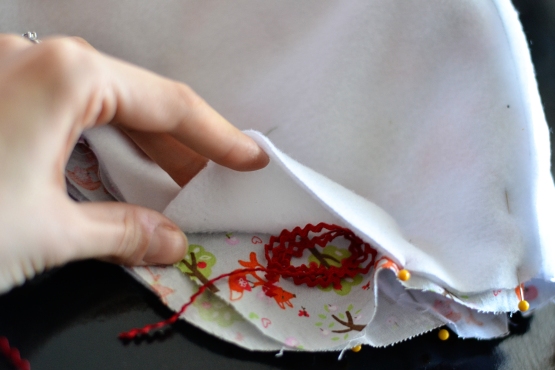
Once everything is sewn up, insert the main hat into the lining with the right sides together. This is also when you’ll insert the ties. I used ric-rac but any ribbon or string will do.

ties

The bulk of the ties will be inside the hat with just an inch or so sticking out to get held in by the seam.

DSC_0346b

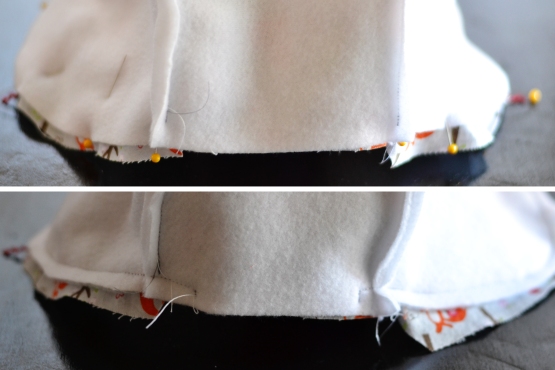
Sew around the perimeter leaving a hole to turn it right side out. You can then hand stitch the opening or just top stitch over the whole thing the machine. Top stitching would also help to hold the lining in better but I haven’t done it in these pictures.

DSC_0387b

DSC_0377b

That’s it!

Linked to:

Sew Much Ado

Friday Favs Party

Hat Pattern

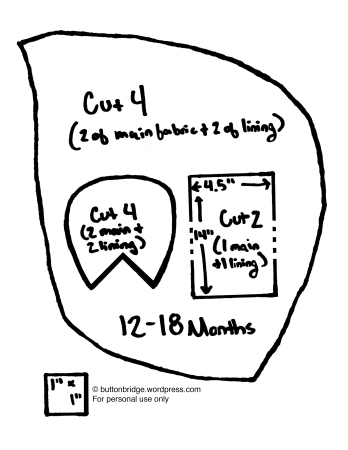
The hat pattern I promised! For free! You can download a copy for yourself here (for personal use only please).

bear hat pattern

I don’t really know what I’m doing disclaimers: the ear pattern piece hasn’t been tested. I didn’t actually make a pattern for that part the first time around so this is just an approximation of what I did. Also, the 12-18 month size is probably pretty generous and I would imagine it will still fit at 2 years old. I was hoping to make another hat and take pictures along the way to show you the construction but our weekend was a lot busier than expected. I’m still planning to do it I just don’t know when…

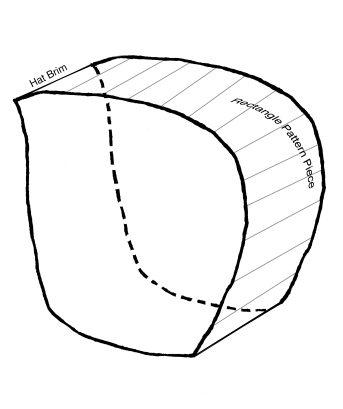
The rectangle inside the hat pattern is obviously not to scale, you’ll have to measure it out on your fabric but those are the dimensions you’ll need. With your pieces cut out you’ll have one hat side on the left, the rectangular piece, and another hat side on the right. Kind of like this:

construction

You’ll make that with both the main and lining fabrics then sew them together, inside out, leaving a hole to turn it through at the end. The ears are inserted in those side seams of the main hat pieces although you could also leave them out entirely.

I would love to hear from you if you end up making this and would be happy to answer any questions that might come up from my less than stellar instructions!

Winter Bear Hat

Image

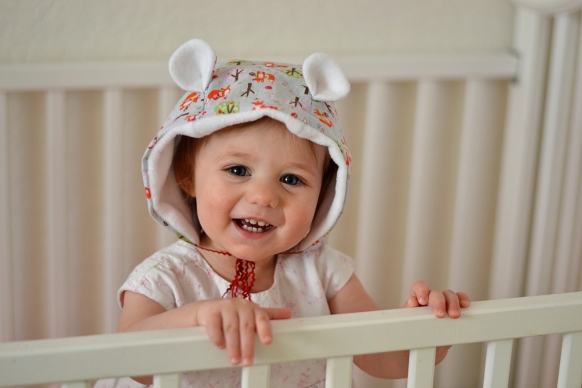
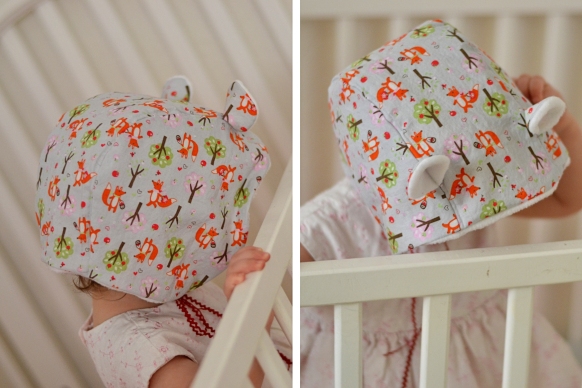
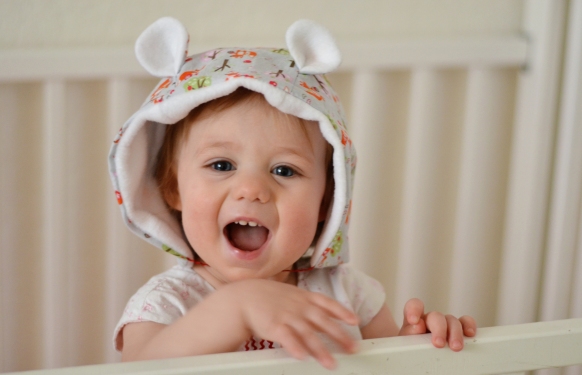
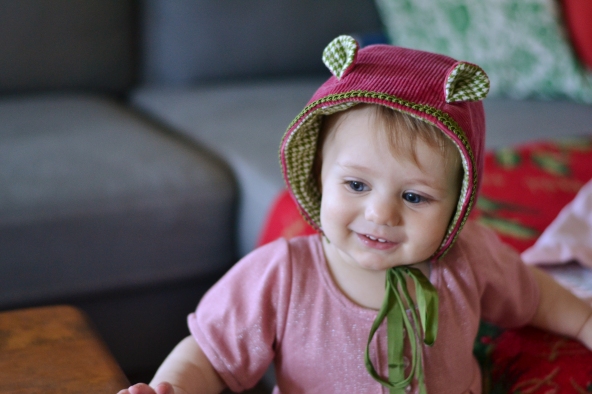
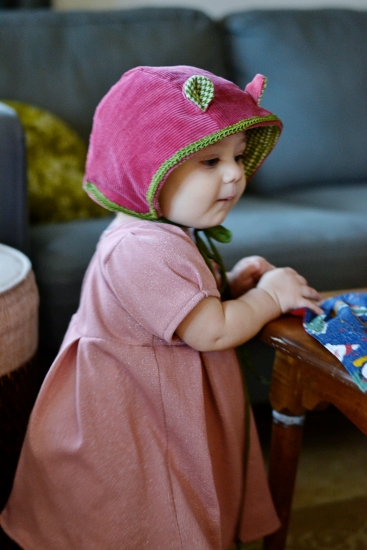
While I had the camera out yesterday I thought I would get some pictures of the hat I made recently. All of our hats are from the summer and now that its getting colder I wanted something heavier/thicker. This is self-drafted and I’m hoping to do a tutorial and potentially upload the pattern pieces some time in the next week or two. Things are hectic this time of year so bear with me!

Image

Burp Cloths

The burp cloths in this tutorial are one of the first things I made when I started using a sewing machine. I hand sewed anything I wanted to make before I got my $20 garage sale machine (It was a dark time before that, full of half-finished projects from lack of patience). But this was the perfect introduction project.

I was around five months pregnant at the time and went a little crazy. I made at least five for myself and then three more for the neighbor across the street. I don’t have any pictures of those but these are some I made for a baby package I recently mailed to my cousin.

Image

I love the flannel patterns that are available now! The ones I made myself are a little boring but the flannel selection has greatly improved since then. Mine are over a year old now and have held up great. They’re the perfect size for throwing over my shoulder or tossing in the diaper bag and the chenille backing is really absorbent. This most recent set used up the last of my chenille and I haven’t been able to find it in stores since then but I plan to try terry cloth on the next batch I make.