Fine and Dandelion Dress Pattern

DSC_0149b

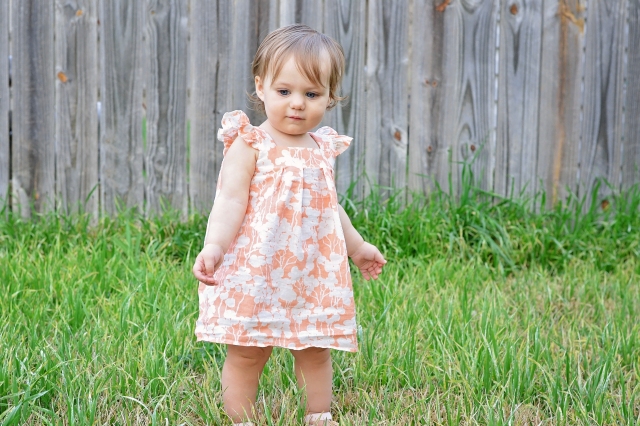
Both the pattern and tutorial I mentioned here, are done! Click here to download the pattern. It’s both the original 6-9 month and 12-18 month patterns. My first version fit until about ten months but that was on a pretty big baby ;) so you may get a longer use out of it.

F&DpatternPieces

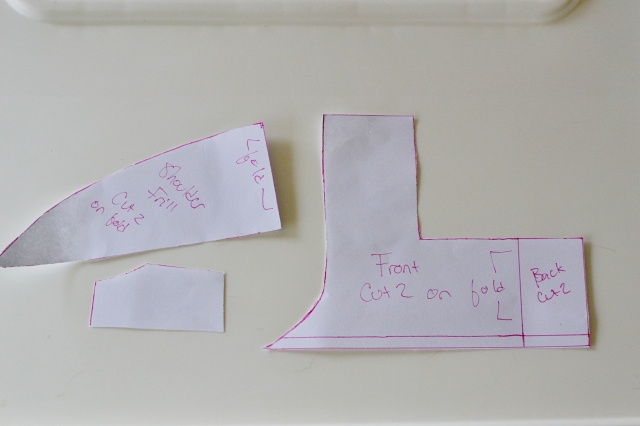
These are my rough draft pieces before I scanned them in and cleaned them up so just pretend that back piece says cut 4. After you’ve cut your back fabric pieces you can fold the pattern piece along the line to get the front pattern piece. You wont actually use the little armhole cutout yet so just set it aside for now. The pieces already include a 3/8″ seam allowance.

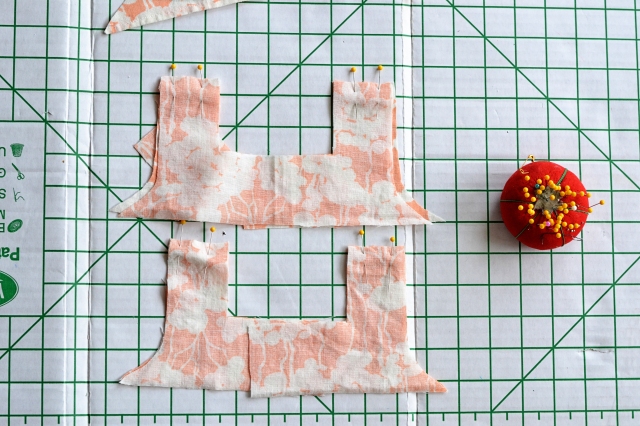
F&Dshoulders

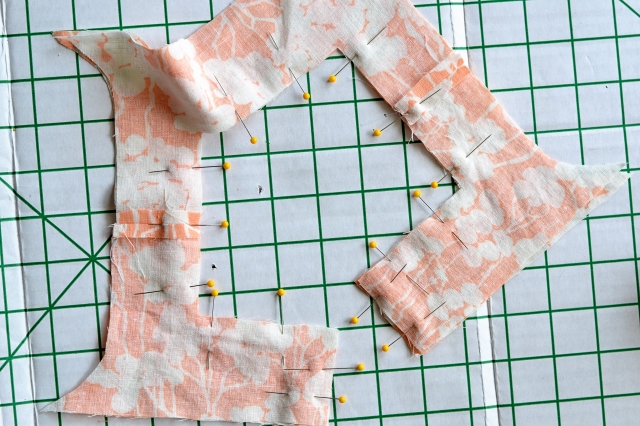
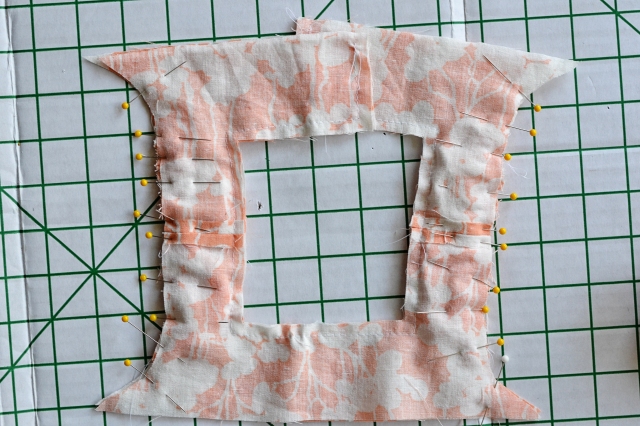
I used the same fabric for my outer and lining fabric so it may be hard to distinguish but pin and sew the shoulders together working on both the main and lining pieces separately.

F&Dneckline

Then with right sides facing sew along the neckline and back opening.

F&DsleevesHem

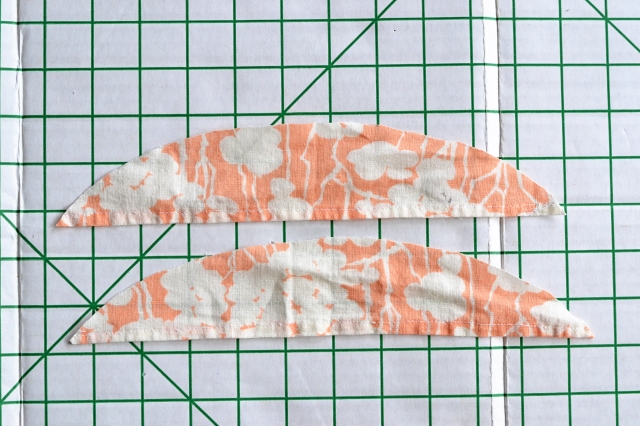
Working on the frill pieces, hem along the straight edge then sew two rows of gathering stitches along the curved sides.

F&Dgathering

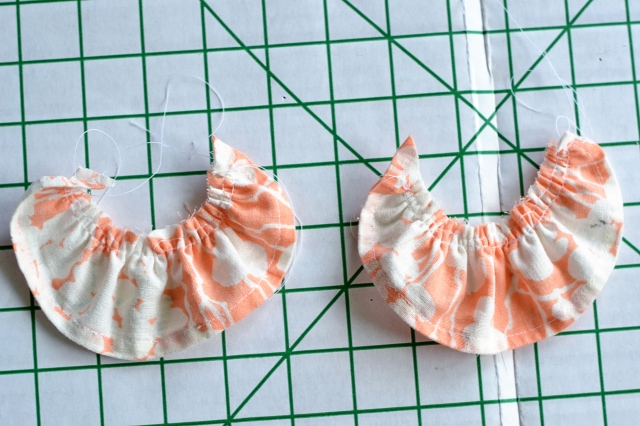
Gather both sleeves to roughly five inches. When I have my fabric at the necessary length I like to tie the threads together to keep the fabric from unraveling, then work on spacing out the gathers evenly.

F&DpinSleeves

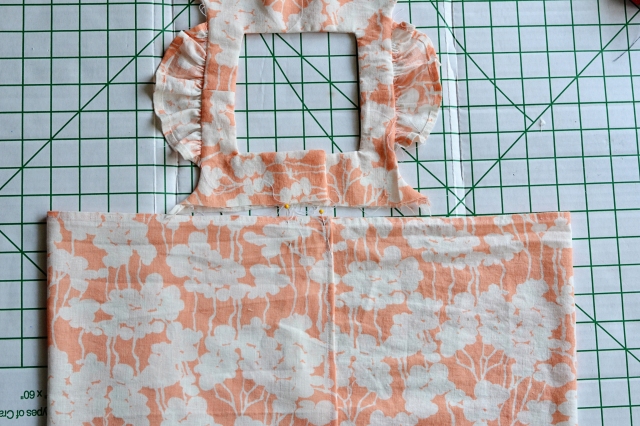
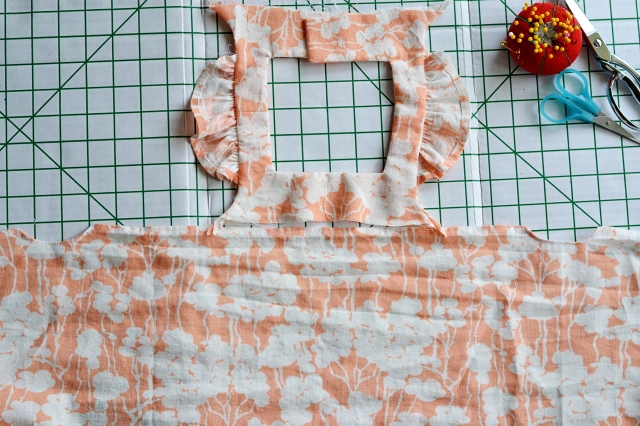
Pin the sleeves into the arm holes and sew down both sides. If you are using a different fabric for your lining face the sleeves so that the right sides are facing your main fabric. Clip your corners and curves and turn the bodice right side out.

F&DpinSkirt

The skirt piece that I used is 39.5″ wide by 13″ long. I turned the edges under 1/4″ two times on both sides and hemmed it before attaching it to the bodice. Overlap your ends to match the back opening and the sides are where you will you the armhole template.

F&DarmCutout

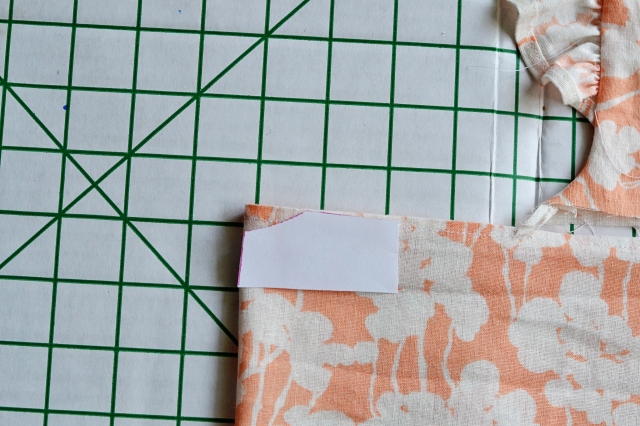
Line the template up on both sides and cut it out on the fold.

F&DarmHem

I just rolled the edges down to form a very small hem and sewed it down slowly but you could use bias tape if you have something small enough.

F&DskirtLine

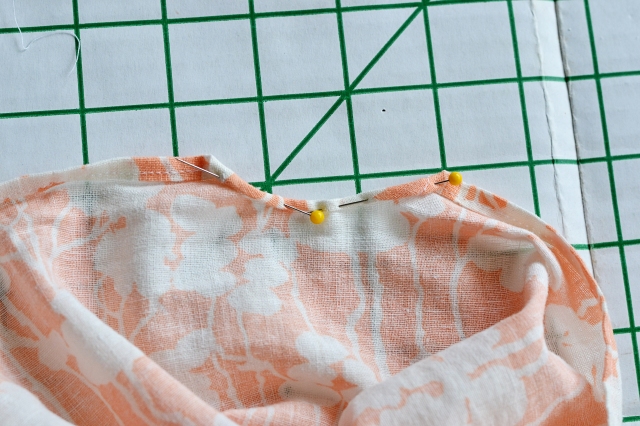
Match up the arm edges on the skirt to the bodice, right sides together, and make four small pleats (two on either side) until the skirt is the same length as the bodice. Do the same thing on the back but also match up the skirt ends with the bodice opening.

F&DfinishEdges

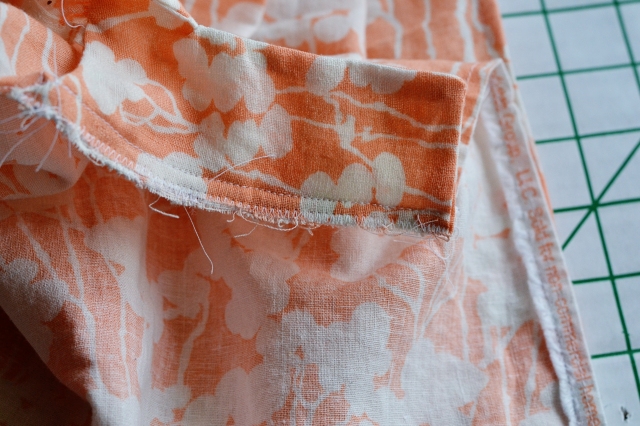
Finish the raw edges.

F&DsewBack

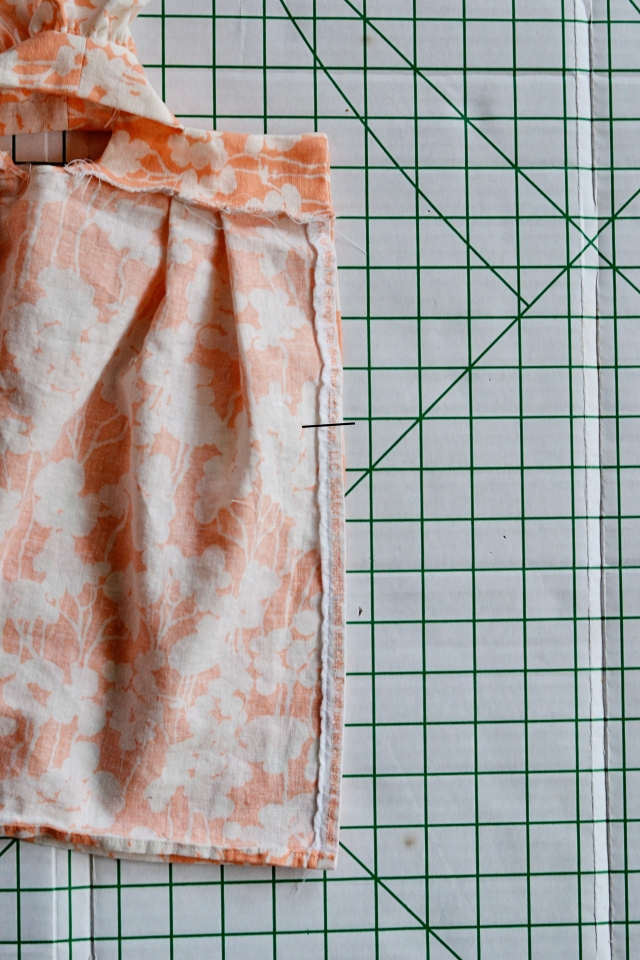
Sew up the bottom nine inches of the skirt and hem the bottom. Add a buttonhole or snap to the top and you’re done!

DSC_0145b2

And once more for the pattern link!
Linked to:


Friday Favs Party

Fine and Dandelion

DSC_0162b

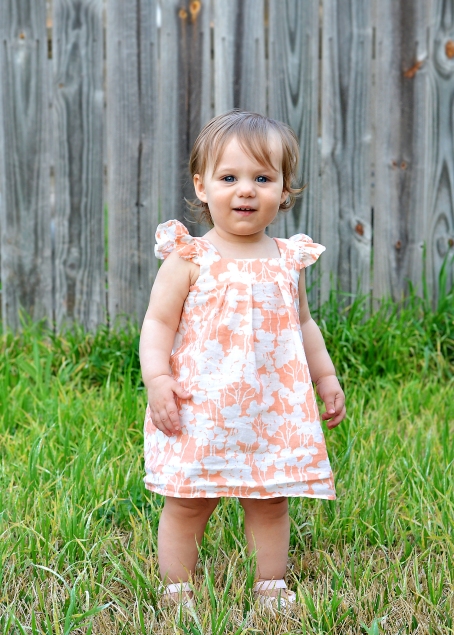
I first drafted this pattern six or seven months ago, and it lasted until she was about ten months old. But when I was looking for the Ham*a pattern the other day I came across this pattern as well and thought I would enlarge it.

DSC_0140b

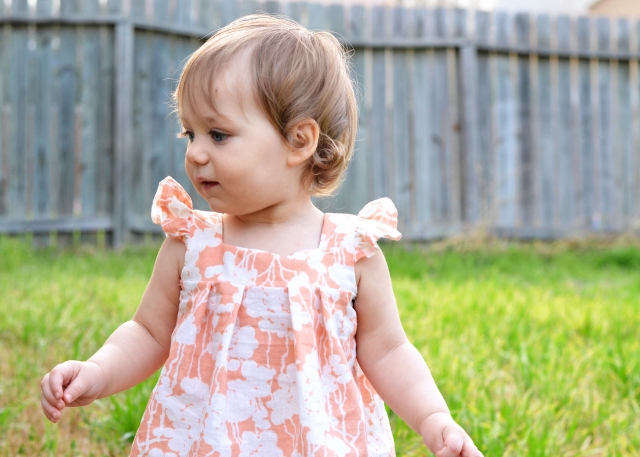
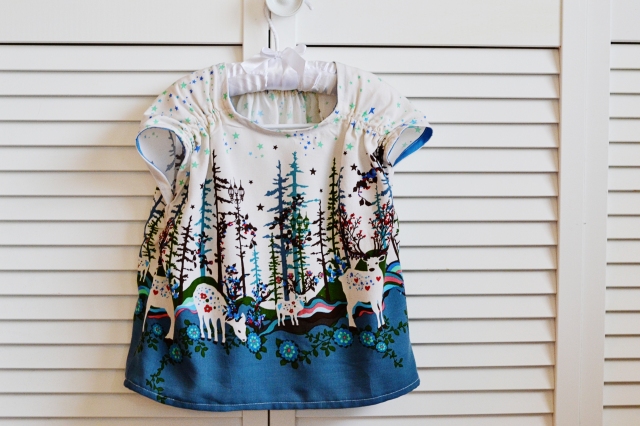
I meant to make a shirt but when I went to check the length I liked it as a dress too much to change it.

DSC_0230b

The fabric was originally some that I used to make a crib skirt but we don’t use it anymore and I’ve been trying really hard to sew from my stash to whittle it down a little. I obviously haven’t learned my lesson with linen though as this dress was wrinkled almost immediately after putting it on. It’s a love, hate relationship.

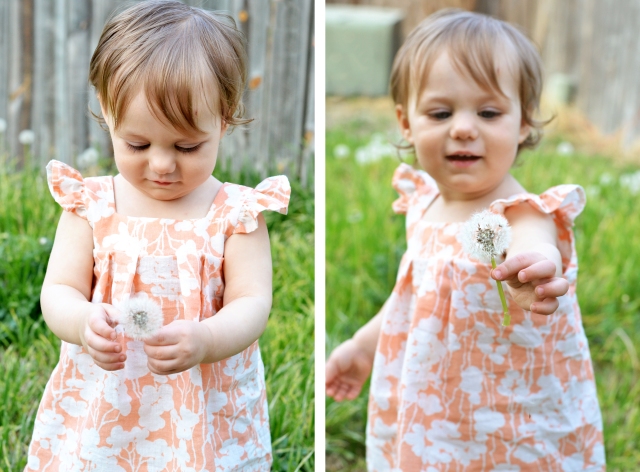
dandelion

DSC_0202b

DSC_0215b

I love mother of pearl buttons.

IMG_3503

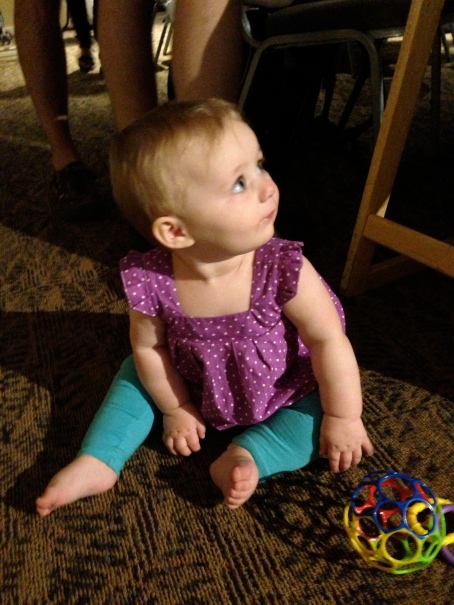
One of the only pictures I could find of the original. It had cute little snaps on the back shaped like bunnies. I’m working on digitizing this/editing pictures for a tutorial to share. Hopefully it will be done before the end of the week!
 

Linked to:

Sew Much Ado

Japanese Pattern by Ham*a

I love Japanese children’s patterns. They always seem so floaty and comfortable. I can’t actually read Japanese but this post has the pattern and instructions link that I downloaded the pattern from.

DSC_0219b

The sizing is obviously Japanese sizes but this chart is what I used to reference for converting to American sizes. Also the pattern doesn’t have seem allowances but the instructions give a diagram for adding them. The elastic at the shoulders was the only place that really tripped me up but I’ve actually made this once before so I had the benefit of trial and error. 

IMG_3336

My first time making the shirt (my first time using a Japanese pattern ever).

DSC_0174b

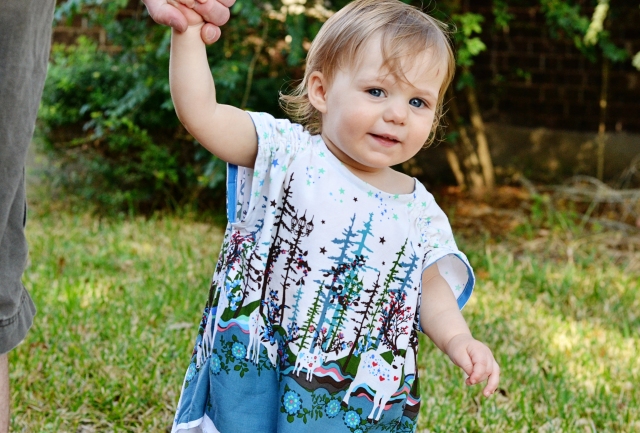
The first top was a size 80 and at 8 months old it fit perfectly. This new one is a 100 and obviously too big! I sewed up the arm opening more after trying it on her and it fits much better but still has plenty of room to grow, and I can unpick those stitches if necessary. I knew it would be too big but I don’t know if I can bear watching her grow out of it because I love the fabric so much!
DSC_0223b

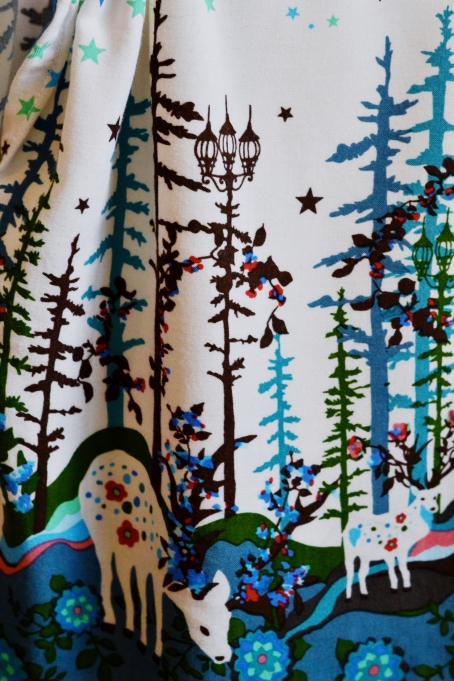
Look at the little lampposts!

DSC_0190b

DSC_0179b

Simple Sewing

I’ve been feeling uninspired lately so I thought a simple project would perk up my sewing mood.

DSC_0118b

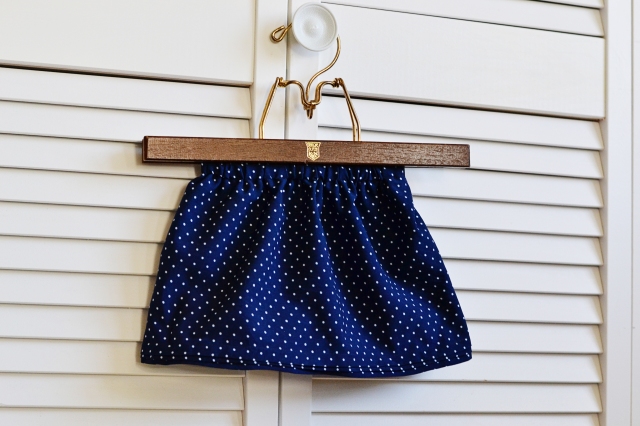
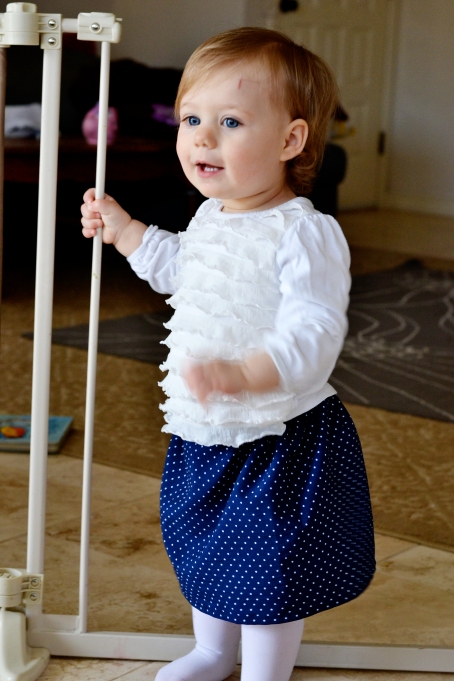
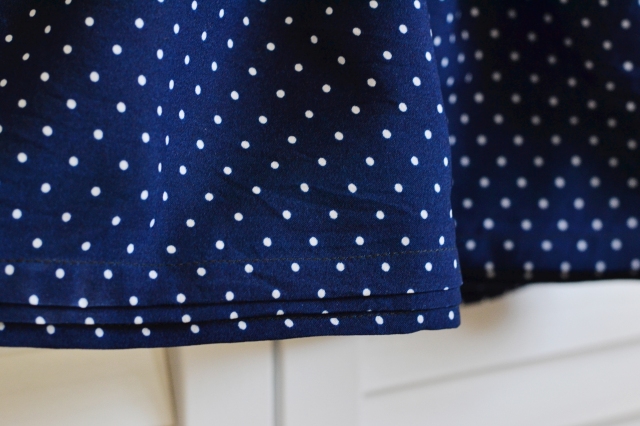
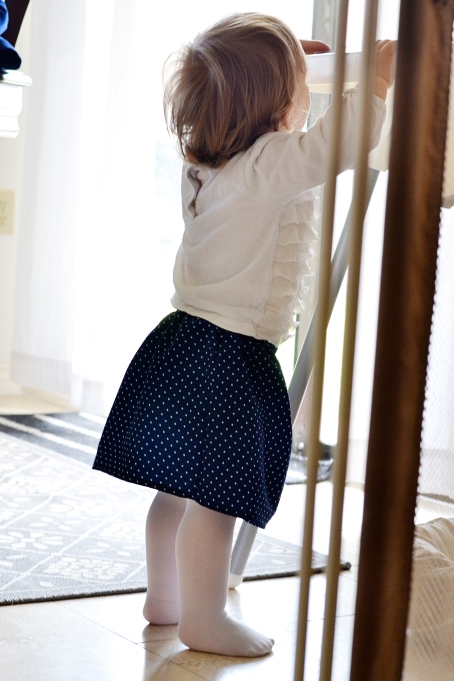
I used up the little bit of scraps left over from my Mathilde Blouse to make a really simple skirt. Just a rectangle sewn together and an elastic waistband.

DSC_0404b

The top picture has pleats along the bottom and I promise it’s the same skirt! When I put it on her it seemed a little long and I thought the pleats would be cute to match my top. Not that we’ll wear them at the same time.

DSC_0137b

DSC_0458b

Intricate sewing is fun and I enjoy challenging myself but sometimes you just need to feel like you know what you’re doing.

DSC_0434b

Mathilde Blouse 2.0

DSC_0126b

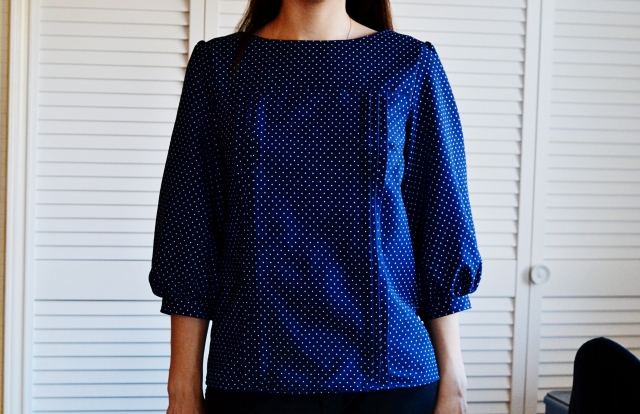
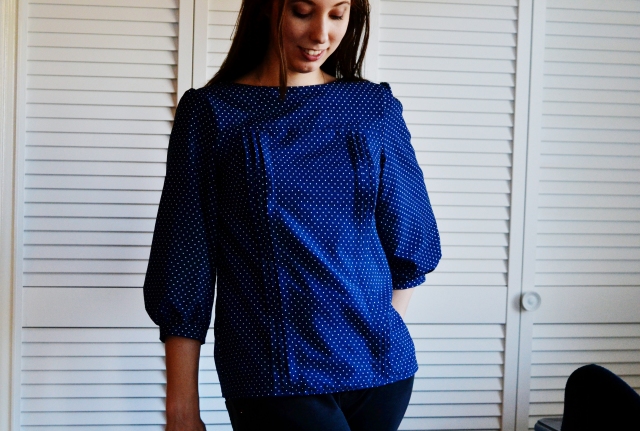
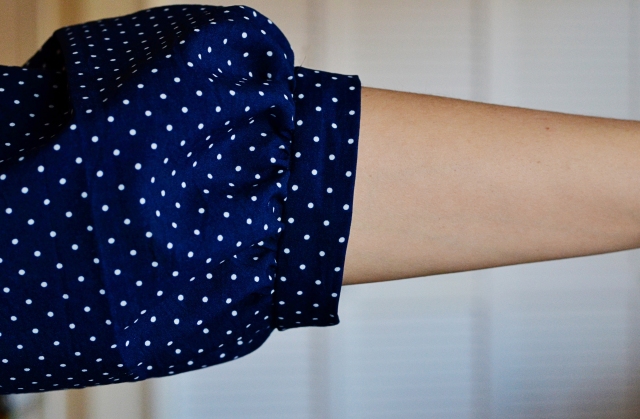
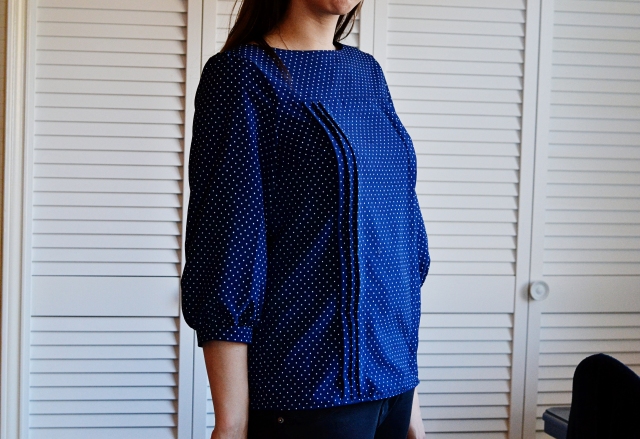
I really wanted to try this pattern out as it was intended to be sewn. I did reduce the fullness in the bottom of the sleeves by about four inches and lengthened it overall by an inch and a half.

DSC_0177b

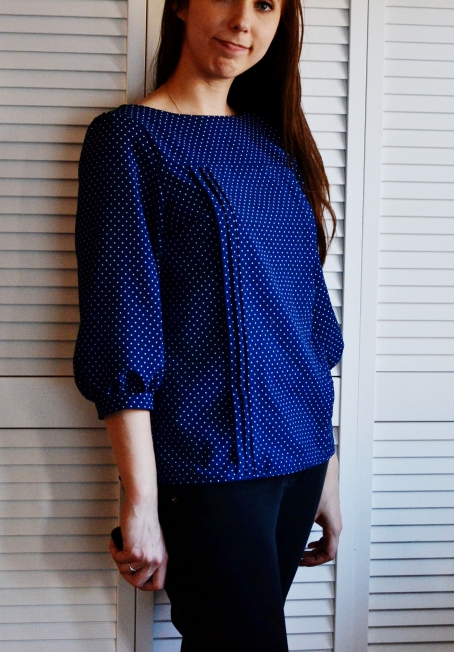
It was getting late when I took these pictures, and I had already worn the top all day but hopefully you can still see all the details.

DSC_0250b

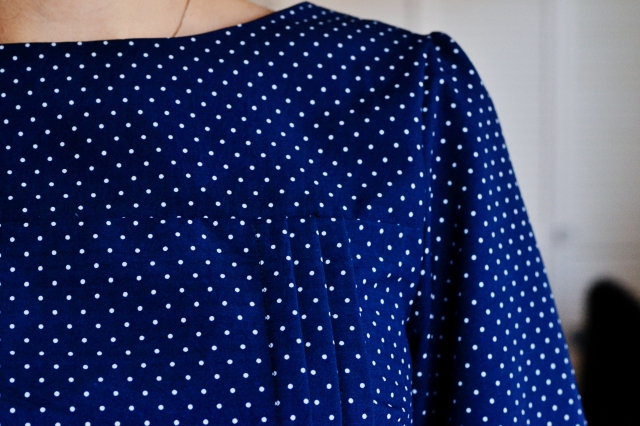
Like these pleats! They aren’t super noticeable from far away because of the print but these little details really make the shirt seem professional.

DSC_0127b

DSC_0242b

These cuffs were so much easier to work with than I thought they were going to be. I guess that’s what happens when you’re used to working on tiny children’s clothes.

DSC_0147b

Mathilde Blouse by Tilly and the Buttons

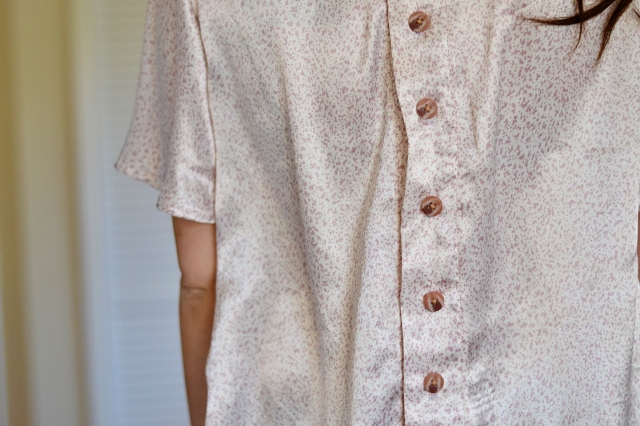
It’s finally done! I really wanted to take my time with this and make something I would actually wear. Unfortunately I’m not 100% sure I can pull this shirt off but that’s entirely related to my fabric choice and has nothing to do with the actual pattern. The pattern I loved! I’m definitely going to use it again with a different type of fabric and want to make it with the full sleeves next. And the pleats!

MathildeBlouse

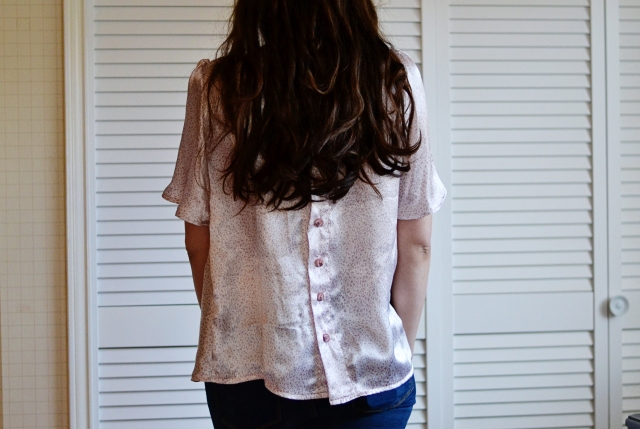
The Mathilde pattern was really easy to work with but what really sealed the deal were the series of instructions on the website. When you download the pattern it comes with a short list of instructions that do assume at least a basic understanding of garment construction. But the website has a ton of tutorials that lead you through each step with really helpful explanations and photographs.

MBack

There’s some weird static cling going on on the left side there.

The one area that I got stuck on were the back openings. I’ve never sewn them to be turned inside out before so I had a hard time visualizing it. I’m really glad I stuck with it though because it was kind of like magic and now I’m obsessed and want to do all my openings this way.

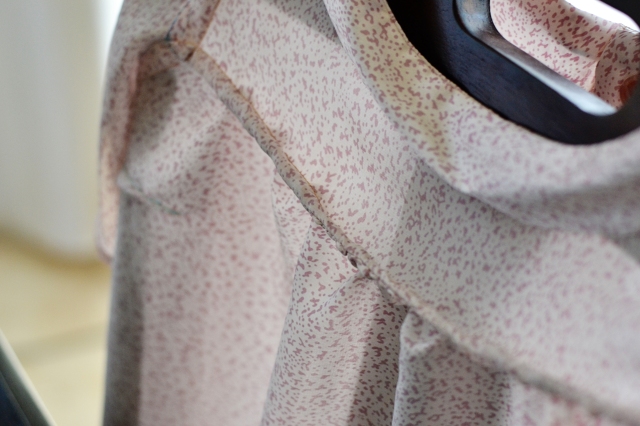
FrenchSeams

French Seams! Another obsession of mine.

MSide

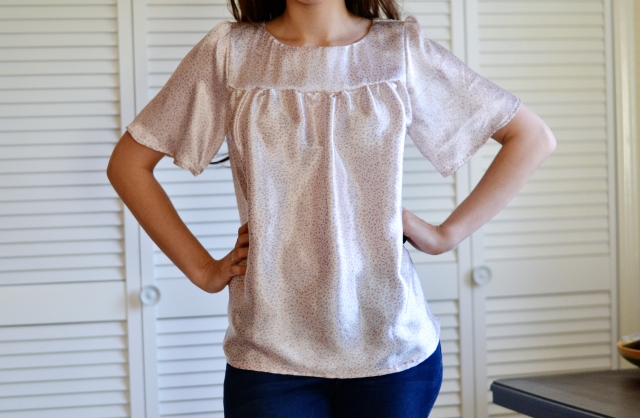
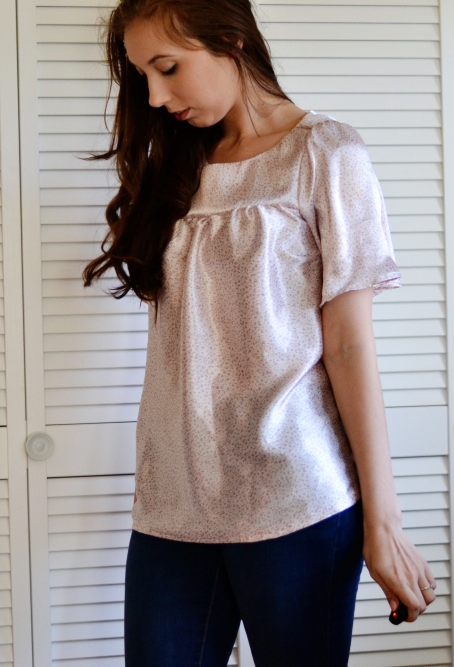
I’ve got to be honest, a friend did tell me that I looked like I was in half a Blanche nightgown and while I don’t disagree with her I think that it’s mostly due to how shiny this fabric is and the fact that I gathered instead of pleating it. When I first put it on I thought it would look really cute with a pair of coordinating bloomers (maybe these?). It’s growing on me though.

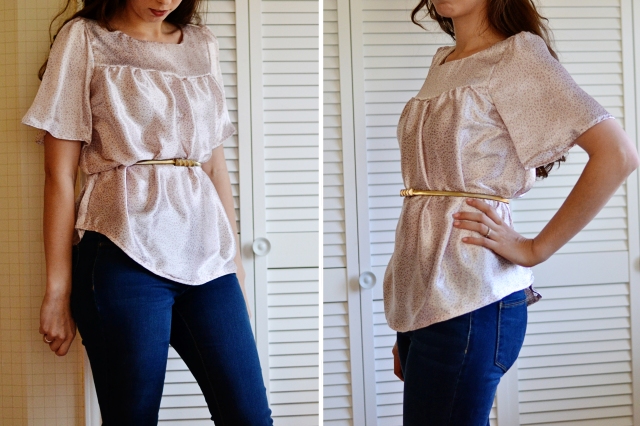
Belted

I do really like it belted but my husband makes fun of me when I try to belt things. He doesn’t believe me that it’s a real “thing”.

Buttons


Linked to:

Sew Much Ado

Shades of Me Sew Along

Playing with Fire

That’s an odd post title. So, I’m still working on the Mathilde Blouse I linked to yesterday. And if you browse around on that website you might come across a warning that beginners should avoid slippery fabrics. I don’t really consider myself a beginner but I also wouldn’t say I’m advanced either. I don’t know, I’m not the best judge of my skill level. But obviously I didn’t head that warning because I had already fallen in love with my ridiculously slippery fabric.

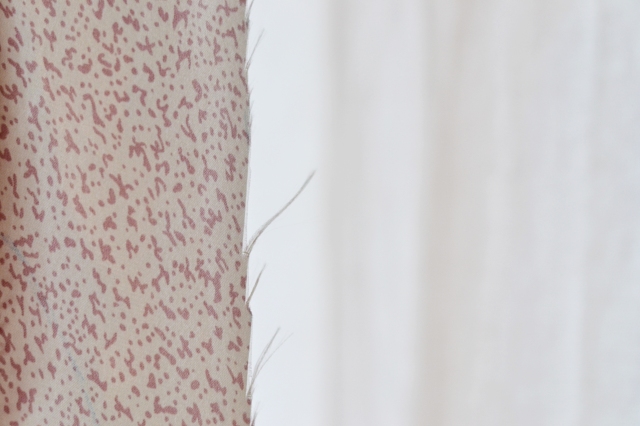
I’ve finished everything but the sleeves and picking out buttons but this post is really about how much this fabric frays.

DSC_0142

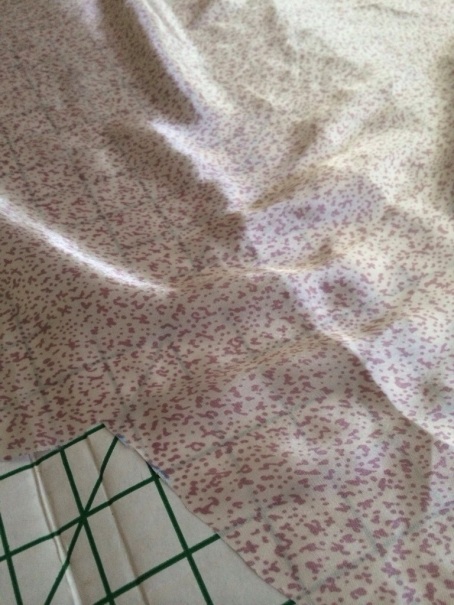
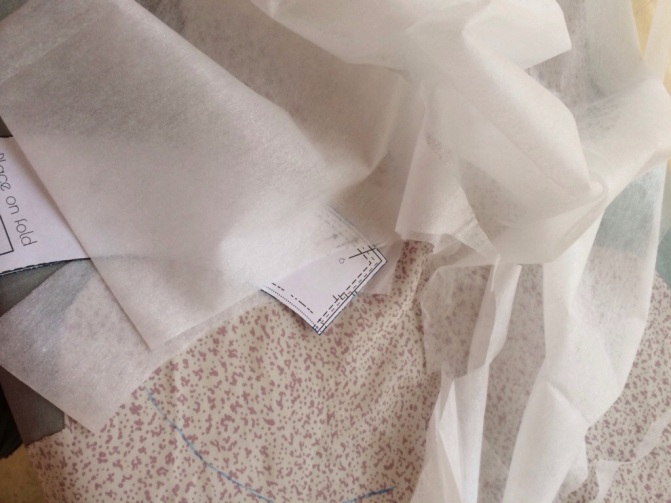
To start it’s a real pain to cut because it’s so slippery it slides around under the pattern making it difficult to keep everything straight. But then after I got everything cut out I was worried that my seam allowances would get all messed up as the fabric basically fell apart.

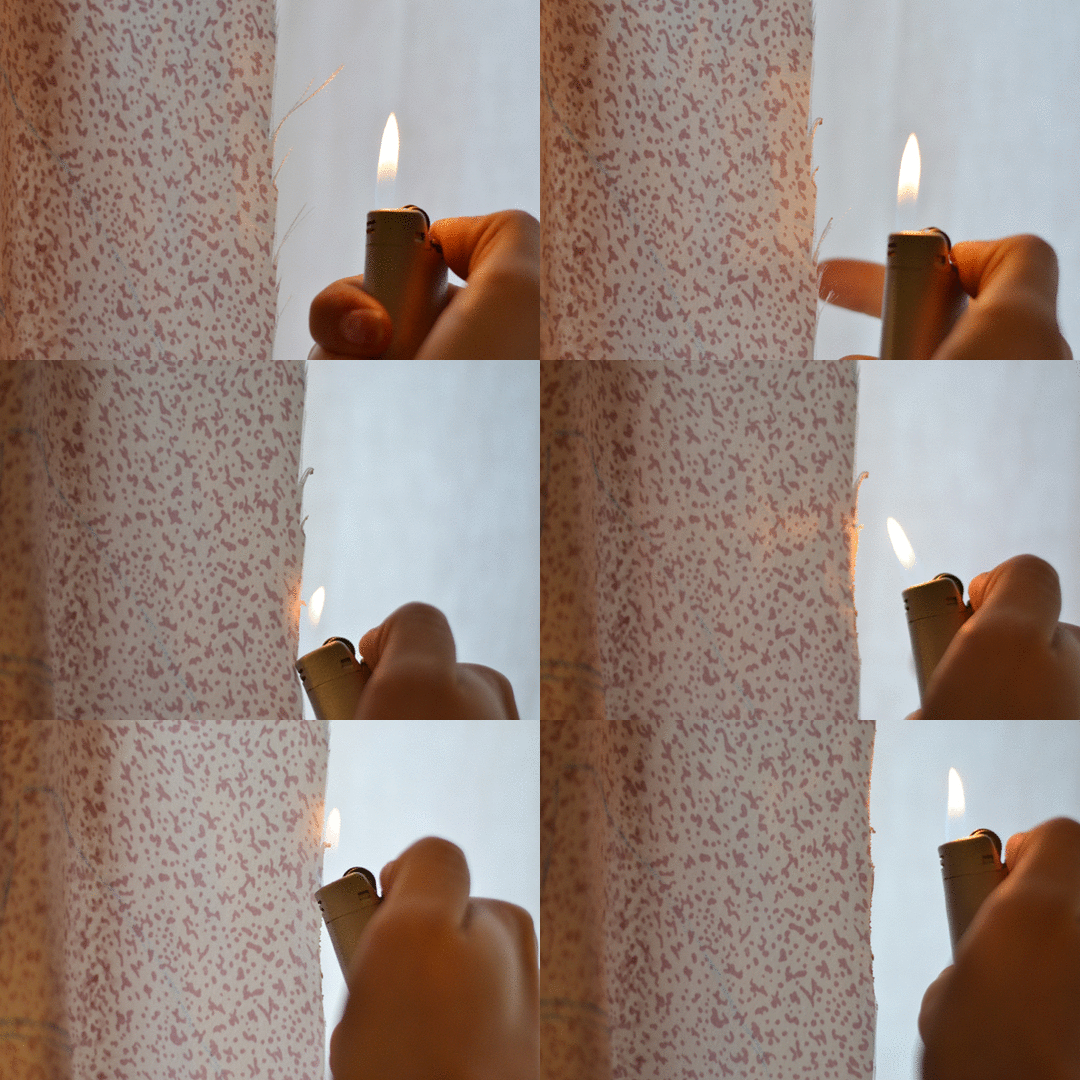
Now, I feel like I have to add a disclaimer here because this is when I broke out the fire. This will only work on synthetic fabrics! If you have real silk please DO NOT set it on fire. Because it will just burn. You could mail it to me though…

Because my fabric is synthetic I could seal the edges with a quick touch to a flame. The synthetic fabric melts instead burning. Although if you were to leave the flame touching too long I have no doubt it would also catch fire, I’m talking about just a quick second. And because I like to live dangerously I took pictures (I don’t recommend holding the fabric and lighter and camera) to make a gif to illustrate!

output_NHQrYD
If you’re not sure about your fabric type, test a scrap piece first. Over the sink. Or with a glass of water near by.

Working on a Mathilde Blouse

After the flurry of Kids Clothes Week there’s not many things we’re short on in the kid’s department. But I’ve had this really pretty silk like fabric for a while now and have been looking for the perfect pattern to use with it.

20140210-095327.jpg

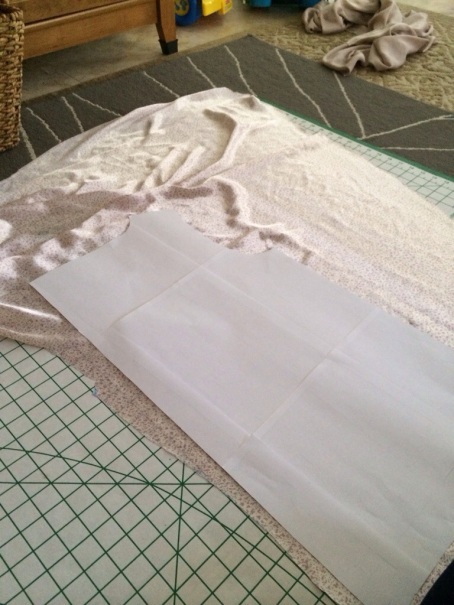
I finally settled on the Mathilde Blouse by Tilly and the Buttons. I love it but I had to cut my sleeves short since I only have a little over a yard of the fabric. And I had to throw cutting on the grain out the window pretty quickly.

20140210-095349.jpg

I don’t actually know what type of fabric this is because I bought it in a thrift store but it feels so nice! Don’t let that fool you though because man was it hard to cut.

20140210-121222.jpg

Hopefully I’ll have it done by tomorrow!

(Sorry for the cell phone shots, late night sewing!)

Missing Pictures

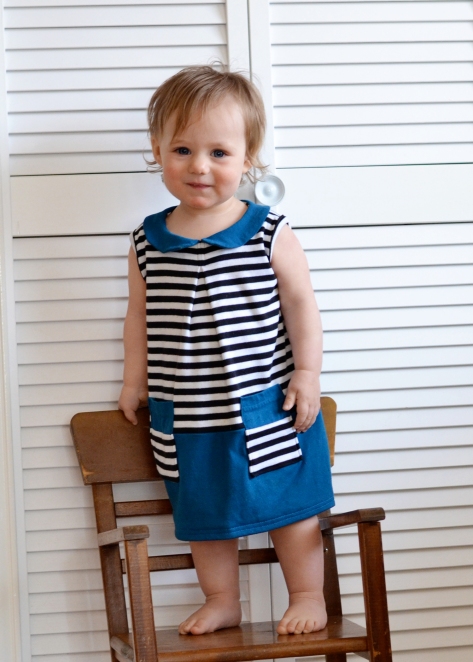
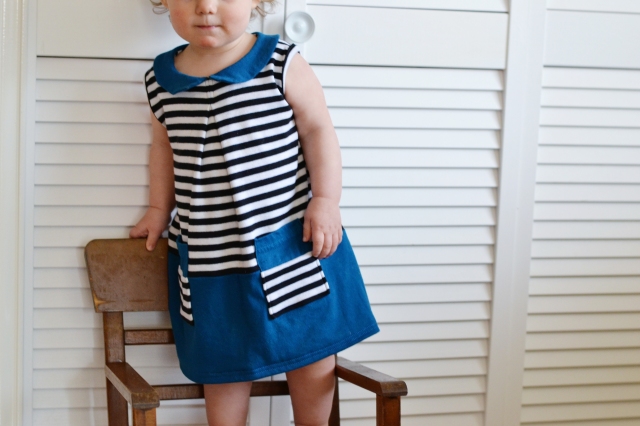
I realized late last night that in my haste to post the tutorial yesterday I never added a picture of the final dress. It doesn’t really affect the tutorial not to have it since the directions are the same either way but I still wanted to share it.

FullDressFront

Pockets! I don’t have a pattern piece for these but they’re pretty easy to eyeball. Just piece together two rectangles and top stitch it down.

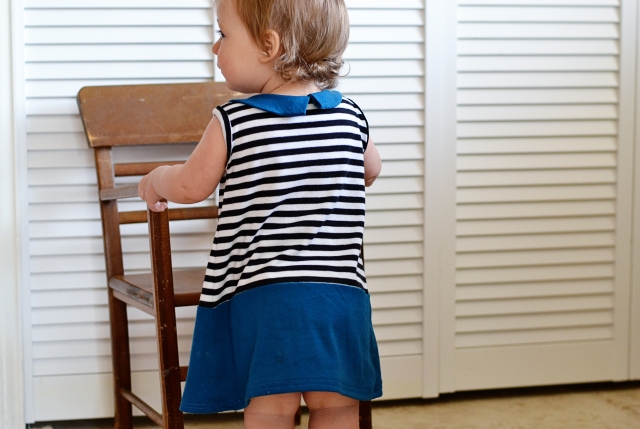
Back

You can see how my back collar pieces are a little funny looking. I had to fold the ends in on themselves to get them to fit and one side is a little shorter than the other but it’s not very noticeable when she’s moving around.

Sideish

I almost used a different fabric for the top because I was worried about it looking a little beetle juice-y but I’m really glad I plunged ahead because I love how it turned out. And I have five yards of that striped fabric so I’m sure you’ll be seeing it again.

AllDone

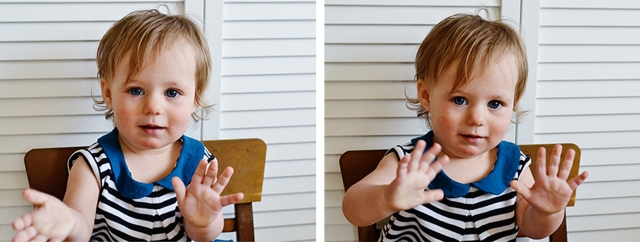
Trying to sign ‘all done’!

Tutorial and pattern can be found here.

Linked to:

Sew Much Ado


Friday Favs Party