Day Five

DSC_0115bb

I finished out my Kid’s Clothes Week sewing over the weekend but don’t normally blog then so I’m going to post them this week. I made this top on Friday after seeing some cute versions in the KCW project pool. The original pattern is from The Purl Bee here.

DSC_0093

There’s actually no printing involved with this pattern since all the cutting measurements are listed for you and they’re all rectangles! No printing, taping, cutting, etc. makes this very fast to put together.

DSC_0115

It doesn’t show up great in these pictures but the fabric is actually sparkly in person. I’ve been hoarding this quarter yard for a while but I figured if I didn’t use it soon nothing I could make with it would fit!

DSC_0182

DSC_0204

Day Four

DSC_0012

When does something old become vintage? I used a vintage shorts pattern to make these. It came in sizes three through five so I graded it down to a two and they’re still a little big. But when I was looking for pictures to make sure the front flaps go over the back flaps I came across this free pattern for basically the same thing!

DSC_0031

I like how the bias tape makes the inside of the shorts as pretty as the outside.

DSC_0005

DSC_0018

These were very easy to put together so I’m definitely going to be making another pair but I think I’ll try the pattern I linked to next to see if the fit is better.

Day Three

DSC_0065

I love how this turned out! I saw this tutorial for a flutter sleeve dress and I’ve been thinking about it ever since. The pattern in that link is a size four, which wouldn’t have worked for me so I altered this free peasant dress pattern by comparing it to other.

DSC_0001

This came together so quick and easy and I even made matching bias tape for the arms so there wouldn’t be a different color showing through.

DSC_0014 2

I’m not entirely positive but I think this is a gauze fabric. Because it was a little stretchy I pulled the sleeves while I sewed them to make a slight lettuce edge hem.

DSC_0038

Day Two

DSC_0014

Diaper covers! When I have enough fabric leftover I really like to make a matching diaper cover for the dresses I sew. I use this pattern and it couldn’t be easier!

DSC_0019

DSC_0025

The pink cover got a little embroidered heart and the tan got a ribbon scrap for tags. I used to have a big stockpile of satin ribbon tags that I had embroidered various sizes and hearts on but my stash has dwindled lately.

Day One

DSC_0012 2

This is what I finished yesterday, but it’s a little misleading if I let you think it only took me one hour. The bodice was already finished from another dress but I didn’t like it for the look I wanted at the time. It seemed a waste to throw it out (fabric hoarder) so I just put it at the bottom of a bin somewhere and when I found it the other day I thought it’d be really pretty with this tan gingham.

DSC_0018

I’ve been in love with circle skirts lately! The bodice is from the geranium dress and I drafted a circle skirt to pair with it.

DSC_0020

There aren’t any side seams on the skirt so I made the circumference of the skirt slightly bigger than the bodice so that it could fold over itself when the bodice is closed. And then I made a little piece of matching bias tape to cover the gap.

DSC_0127

DSC_0058

DSC_0045

I’m hoping to finish a matching diaper cover today.

Button Up Instructions

DSC_0028

This might get a little long but it’s mostly because I felt like the collar part needed some extra explaining. And unfortunately most of the pictures were taken at night so they might not be the best. It took me a while to digitize this because I wasn’t 100% happy with the fit of the back and making it this time for the tutorial made me realize it’s still bugging me. So I might go back and make a few tweaks but only to the back bodice piece. I just want to get the collar to lay right so I’m going to try scooping out the neckline about an inch to see if it helps. I’ll update the pattern and post about it too if I end up making the changes.

DSC_0031 2

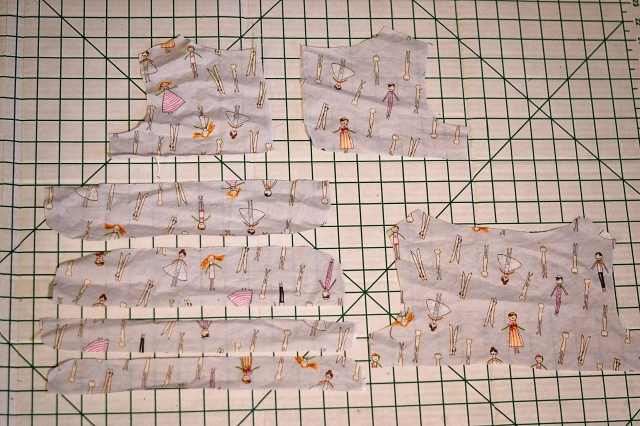
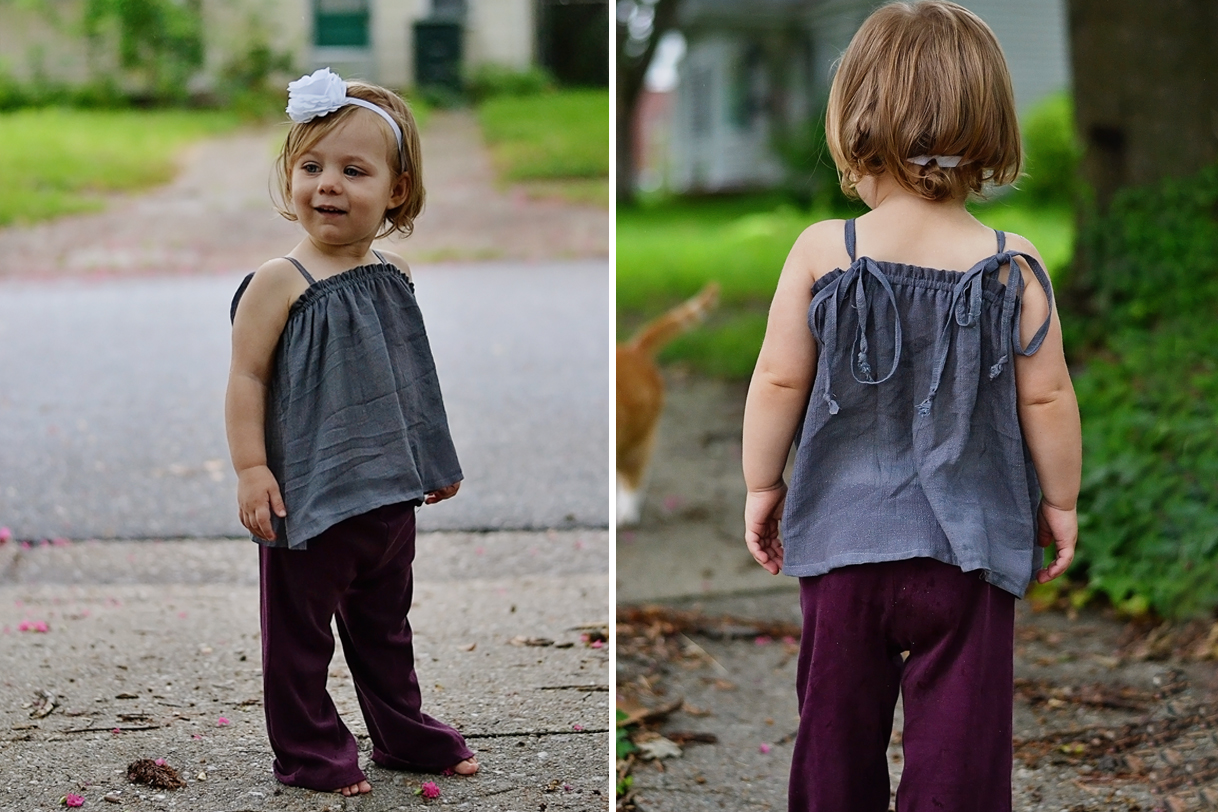
I added roughly one cm to each side of the back and front bodice pieces to enlarge the fit.

DSC_0044b

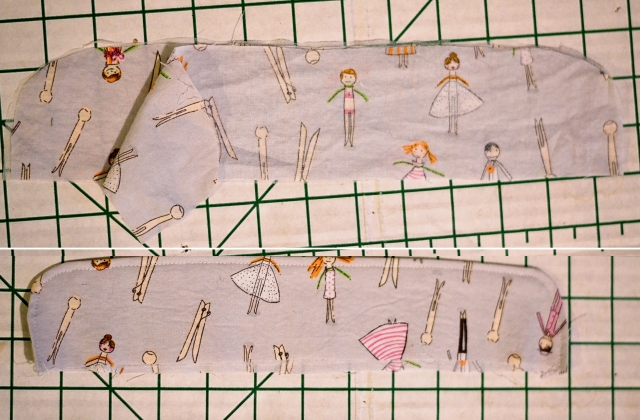
To start, the main collar pieces should be sewn together around the curved edges with the right sides facing and then turned right side out. Topstitch the curved side.

DSC_0049b

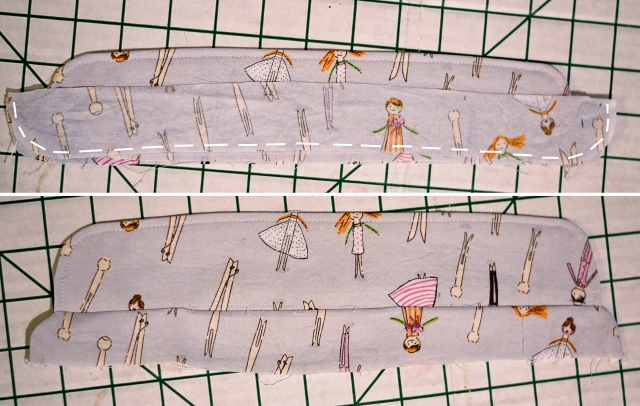
The collar attachment pieces should sandwich the main collar with the right sides facing and be sewn around the curved edges. Turn it right side out but do not topstitch like on the main collar.

DSC_0062

Press the unfinished sides of the attachment pieces towards the wrong side of the fabric.

DSC_0070

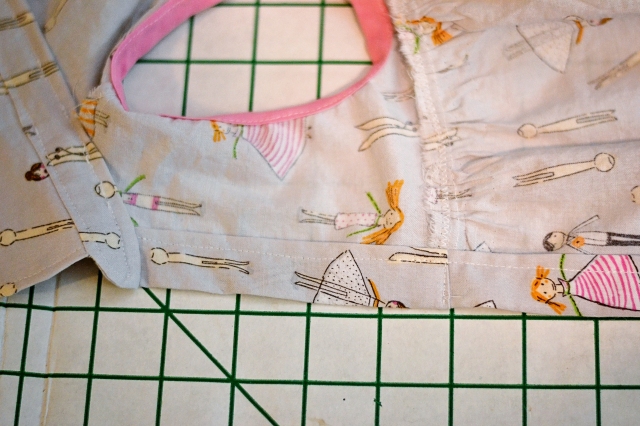
I didn’t take pictures of the bodice construction but it’s basically just sew the shoulders and finish the seams then bind the arm openings with bias tape before sewing the sides together. To attach the collar line up the middle of the collar with the middle of the back bodice piece, sandwiching it in between the attachment pieces.

DSC_0071

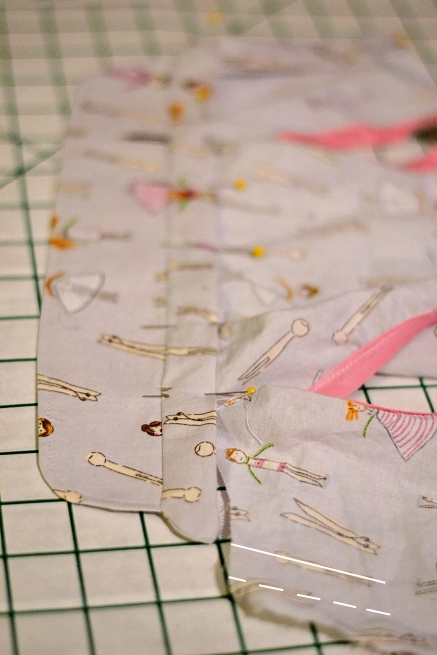
Slide the bodice into the collar until you get to the front openings. Fold the edges in to the wrong side twice to fit inside the collar opening.

DSC_0073

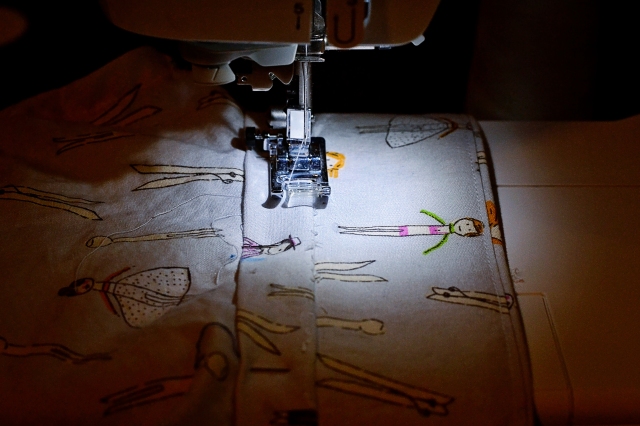
Sew all around the attachment piece’s perimeter, I like to topstitch on the outside of the shirt but it doesn’t really matter if one is easier for you.

DSC_0089

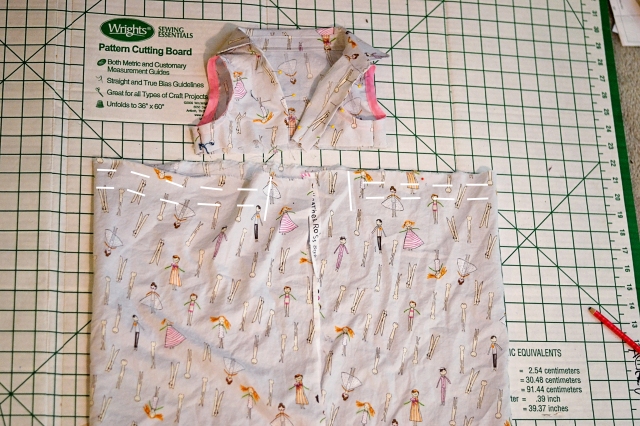
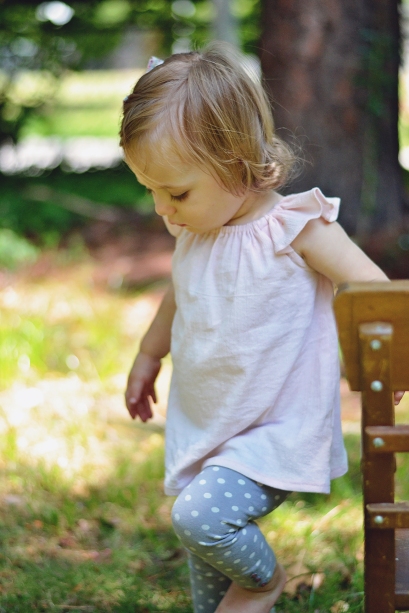
One pattern note: The separate piece is listed on the pattern as being 44″ X 11″ but I’m making a dress here so I used a piece that was 16″ tall and just cut it selvedge to selvedge.

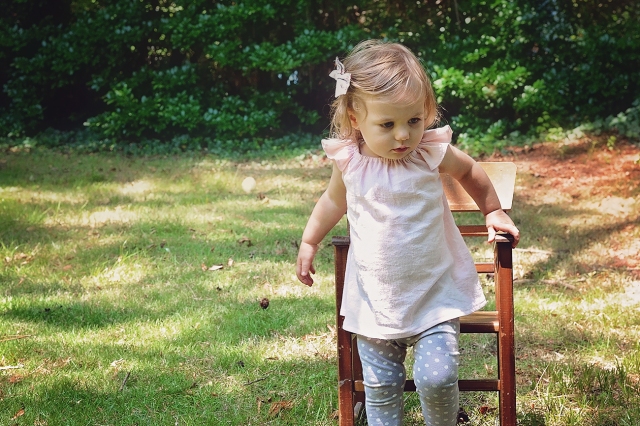
Anyways, the skirt piece should be gathered but starting about an inch and a half away from the edges. When you attach the skirt to the bodice you’ll have to unfold the bodice edges from when they were folded to fit inside the collar.

DSC_0091

Finish the skirt/bodice seam and press it to the top then topstitch along the bodice edge. Fold both the left and right opening edges under to match the bodice and sew it down.

DSC_0096

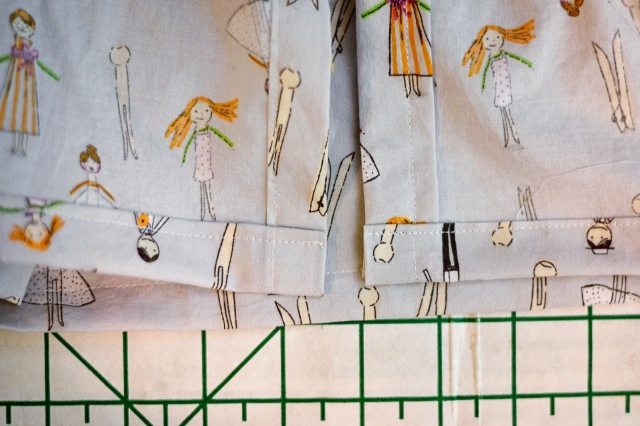
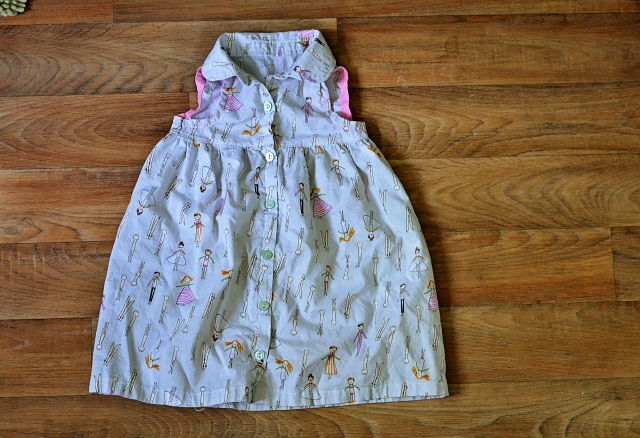
Hem the bottom and add buttons and buttonholes evenly spaced along the opening. I used six buttons but I wish I had had a seventh to put them a little bit closer together. I’ll post the rest of the finished pictures tomorrow since this is already so long and picture heavy! And in case you missed it here is the pattern link again.


Step Stool Chair

DSC_0031

You may remember this chair I posted about here. Its gone from this to:

DSC_0001

this, to:

DSC_0055

this! It’s almost finished. I just want to paint the steps black and add a few more staples underneath the seat once I find where I put the box down.

DSC_0030

DSC_0091

I reused the upholstery nails from the old vinyl, not because I dig the old rusty look, but because I was just too lazy to go find new ones.

DSC_0079

This is the underside of the seat, I think it needs just a few more staples along the back but I put the box of staples down somewhere and now I can’t find them.

DSC_0007

A sneak peak of the Fourth of July dress I’ve been working on! It may or may not be worn on the fourth due to the tropical storm/hurricane making its way up the east coast.